Installing OBS Plugins on Windows is easy and can be done one of two ways, depending on how the plugin you wish to install is distributed.
Make sure OBS Studio is closed before proceeding.
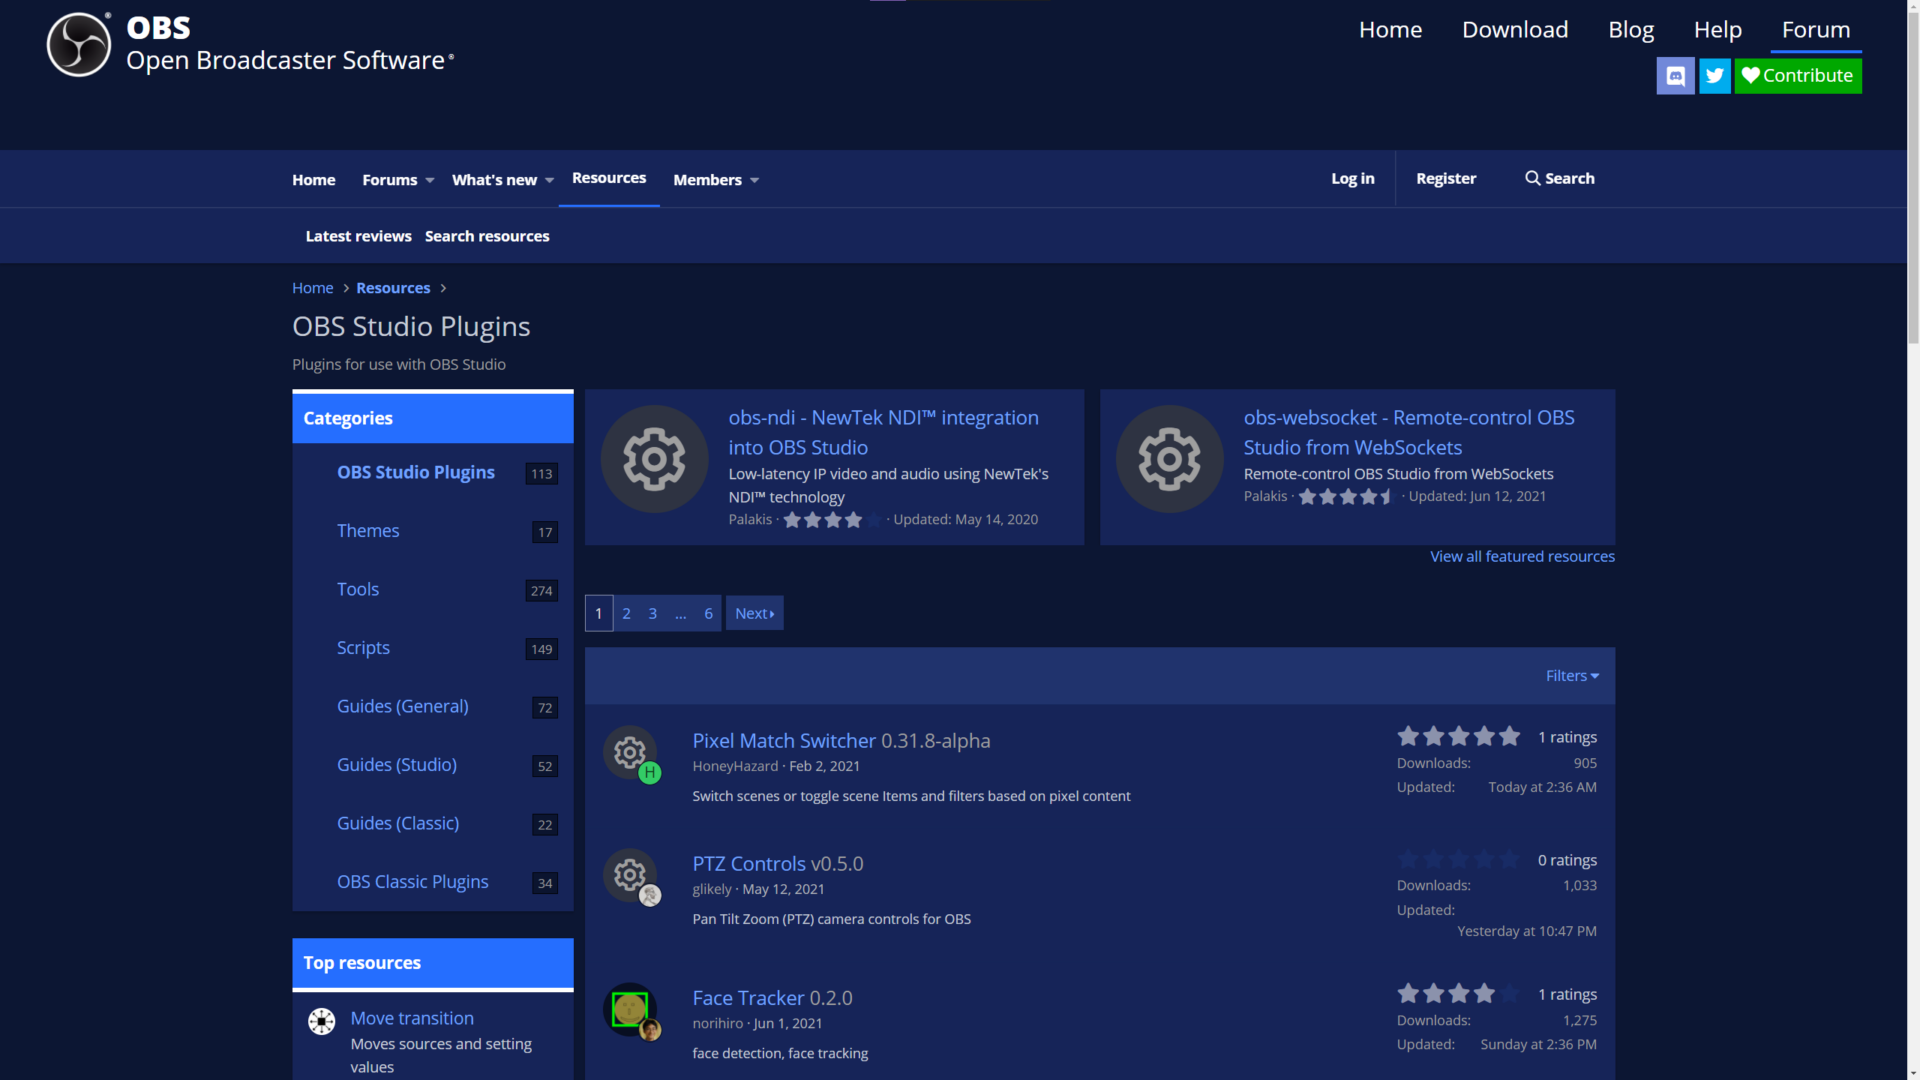
First, find the plugin you wish to install on the OBS Resources page.
If your plugin gives an installer, you can download that. (Usually called “[plugin name]-windows-installer”.)

This will likely be in a .zip folder. Open that folder and run the installer to install your plugin, approving any prompts.
If you do not wish to use the installer, or want to install your plugin to a portable instance of OBS (not in the default install directory) choose the normal “windows” file instead of the “windows-installer” option. Open the .zip you downloaded.

Here you will copy the folders from this .zip archive to your OBS installation root directory. If you have a portable OBS instance, you know where that’s installed to. Otherwise, OBS is typically installed in:
C:\Program Files\obs-studio
Older installations may be in:
C:\Program File (x86)\obs-studio
Now open OBS Studio back up and your plugin should be installed.