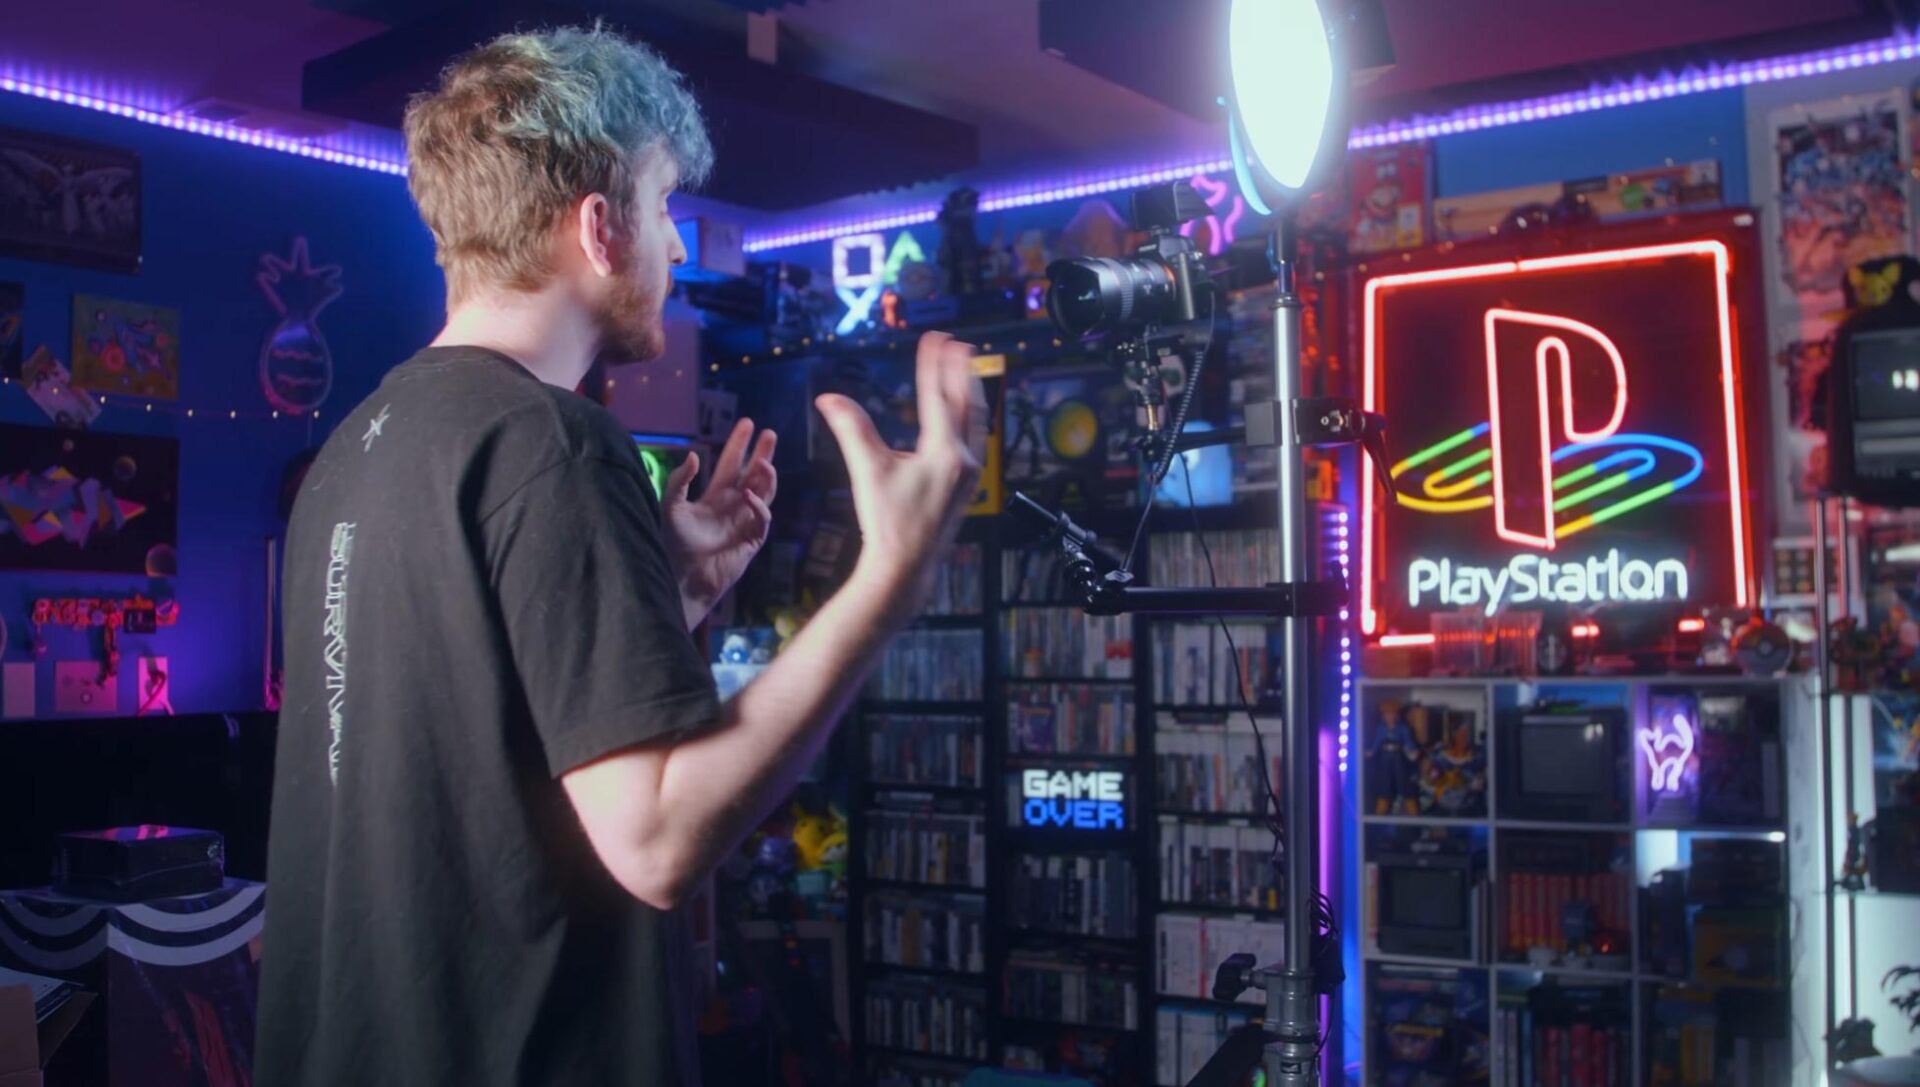
Today’s video is all about building a full TikTok setup or YouTube filming setup on a single rolling stand! This thing is awesome. One rolling stand houses lighting, camera, audio, and power – ready to rock whenever you shoot your latest TikTok, YouTube Video, or Instagram Reels but will get out of your way when you don’t need it!
When it comes to content I produce regularly, my goal is simple: Automate as much as possible and streamline the process as much as possible so I can just get up, film my video, and edit it – with as little friction in the process as there can be.
This cart is no exception. This is a TikTok (and sometimes YouTube) video shooting setup that produces high-quality 4K content with only a couple of switches being flipped.
[This article contains affiliate links which can give a small financial kickback to me with no added cost to you. Affiliate links do not indicate a paid relationship with any given product or manufacturer of the product, simply an affiliate partnership with the online store.]
Holding this entire setup is one of my favorite gear finds of the last few years: The Impact Light Stand with Wheeled base [Affiliate links: Amazon / B&H].

This stand is effectively a C-Stand but on wheels! Big, heavy-duty, carpet-friendly wheels, too! It has 2 adjustment knobs to extend pretty high, a cable management clip, and a spigot at the top to mount lights or arms to, or convert to a tripod-like setup. Plus, the wheels compact against the pole for easy storage.
I use these stands for everything now: Lights, bounce cards, this setup, etc. It also inspired me to get a wheeled tripod for my heavy cinema camera rig, as well!
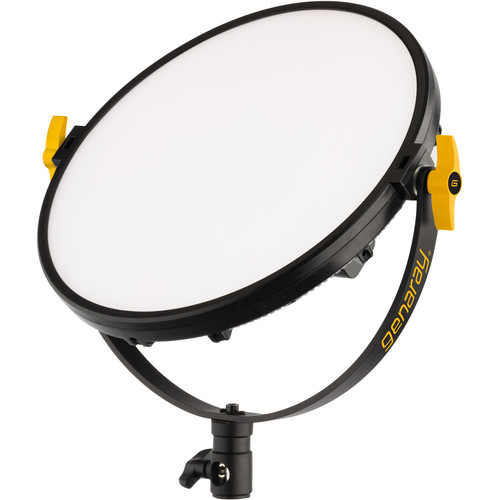
For lighting, I have a Dracast DRSL-R-400B LED panel attached to the spigot and angled down. This provides soft, diffused light that’s perfect for an up-close angle like we use for this setup. It runs off of dual Sony NP-F style batteries.
[This light is no longer sold, but equivalent alternatives include: GVM-Y600256 (Amazon affiliate) and Genaray Mini Moon 11″ (B&H affiliate).]
Next, we move on to the camera. I’m using a Sony a7s ii for this particular setup [eBay affiliate link] as I happened to have it available and no longer in use. Attached to it is the Yongnuo 14mm f/2.8 EF lens via the Viltrox EF-NEX IV adapter [Amazon affiliate link].
While full-frame is ideal for this scenario to get a wider FOV for widescreen or vertical (or square) cropping options, this lens setup is not. The a7s ii has decent autofocus compared to most Panasonic cameras, but still hunts quite a bit. Combined that with a cheap lens – with likely mediocre autofocus performance in the first place – and translating that autofocus through the Viltrox adapter, autofocus is basically unusable. It’s always hunting.
I use manual focus for this setup, but using a camera like the Sony a6400 [Amazon affiliate, B&H affiliate link] provides awesome autofocus – at the cost of a cropped FOV.
To mount the camera to the stand, I used an Impact Super Clamp w/ Ratchet Handle [Amazon affiliate, B&H affiliate link] and the Impact 6″ Extension Arm with Spigot for Super Clamp coming out of it [Amazon affiliate, B&H affiliate link].
Sitting on top of the spigot is a basic ball head and arca swiss quick release plate. Here’s the combo I recommend (Amazon affiliate).
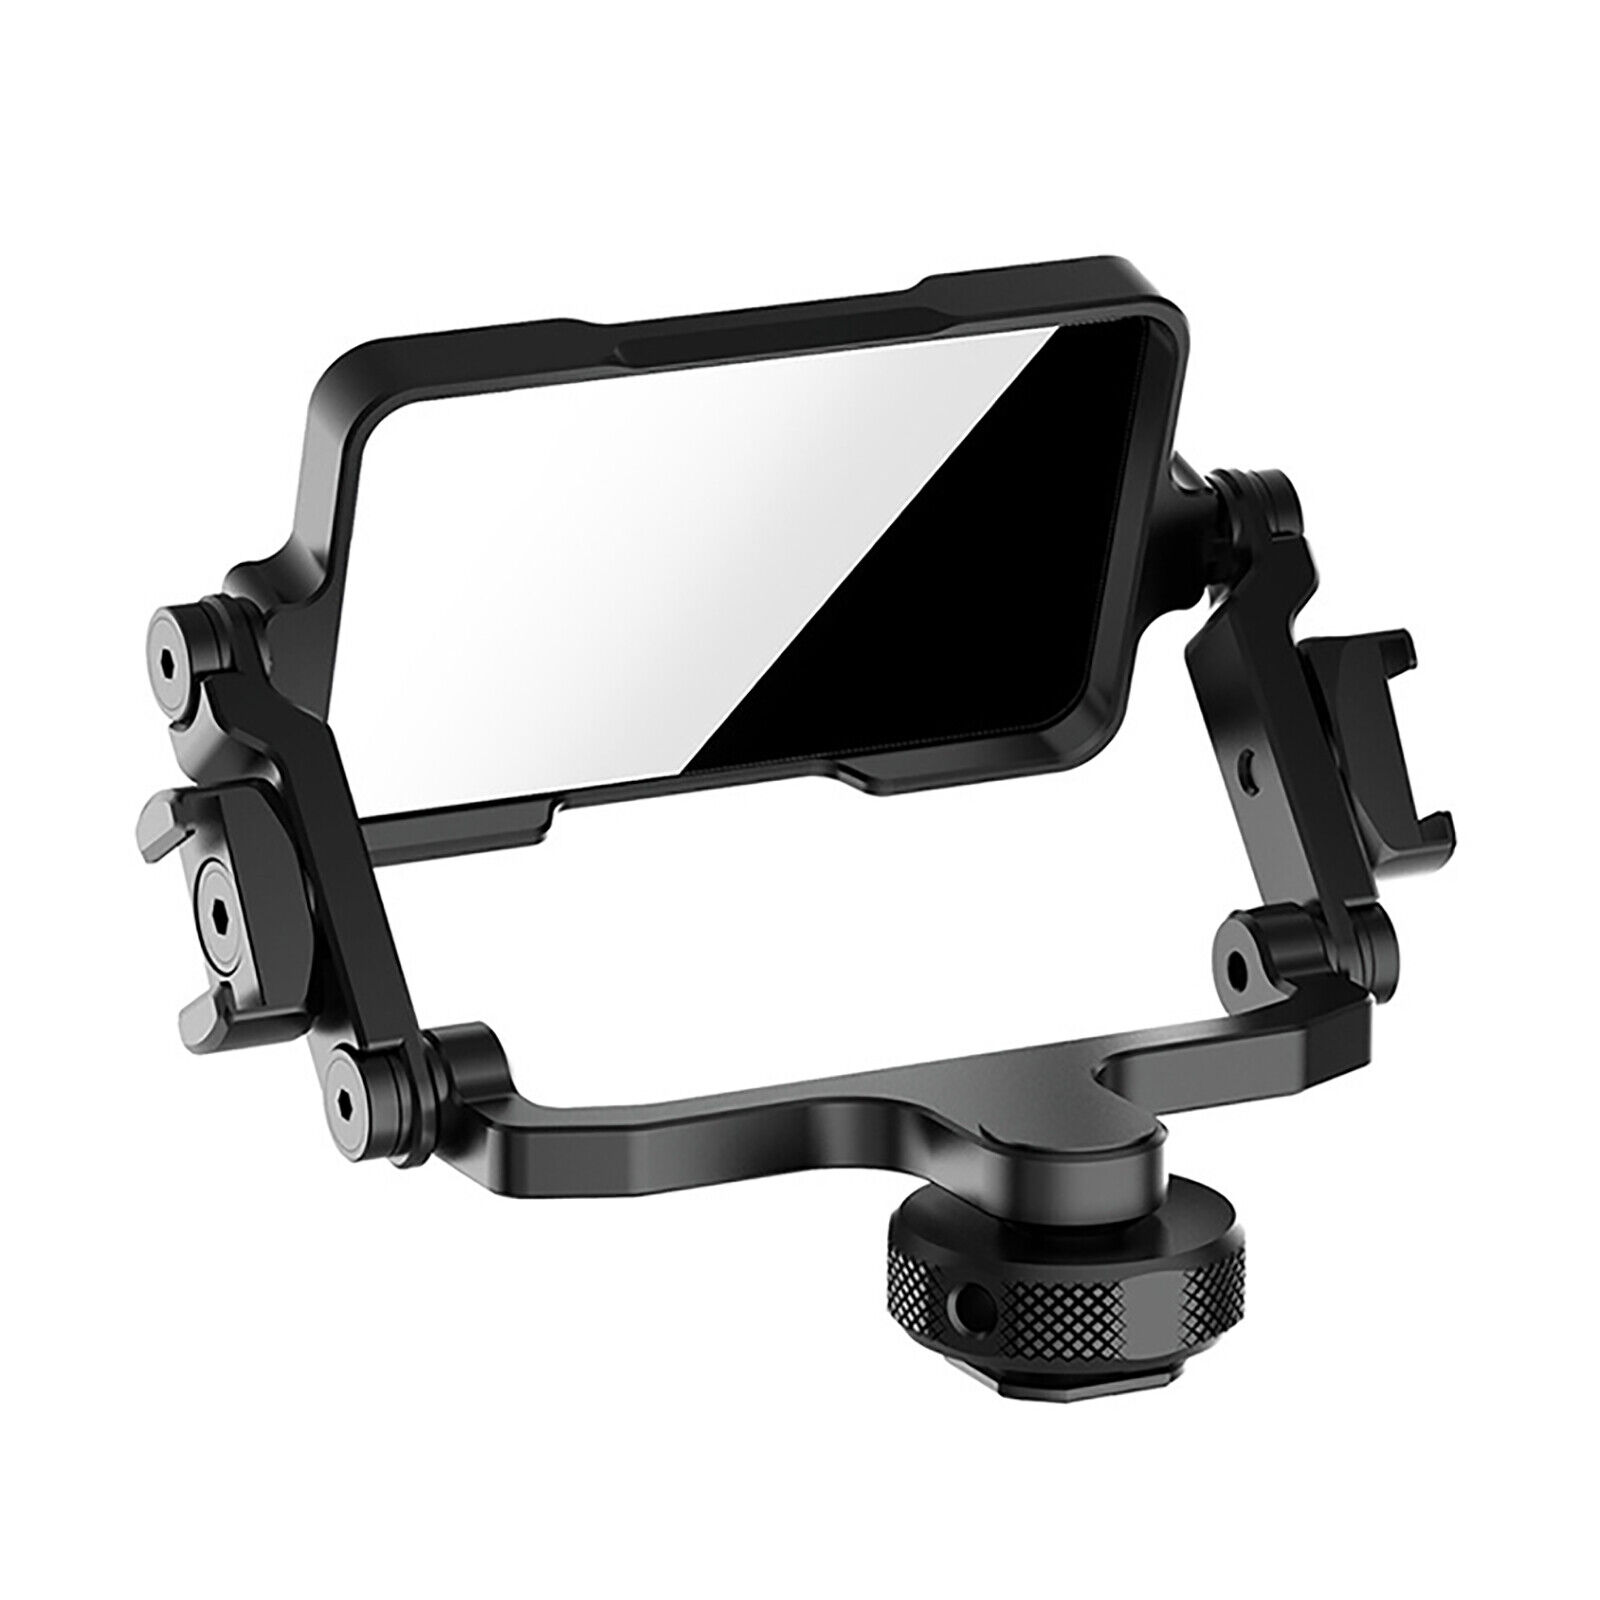
Since the Sony a7s ii does not have a flip-out screen, I use a mirror mounted in the cold shoe to see the screen and focus peaking. Here’s the one I got, and here’s an alternative that’s probably better (eBay affiliate links).
The microphone I use is a small shotgun mic, the AVerMedia Live Streamer Mic AM133 [Amazon affiliate link] – which sounds really great for the price, especially when you have it up close to your subject like this.
I use the Elgato Solid Arm [Amazon affiliate link] to mount the mic to the stand and keep it just out of frame (most of the time).
To power the camera, I use this CAME-TV V-Mount clamp [Amazon affiliate link] to mount this tiny CAME-TV 99Wh V-Mount battery [Amazon affiliate, B&H affiliate link] and power the camera via USB using a cheap USB dummy battery [Amazon affiliate link].
All in all, the results are pretty stellar (though a more modern camera & lens combo with better continuous autofocus and a flip-out screen would improve the workflow greatly) and creates higher-quality video than most of what is on TikTok or YouTube. Plus, you have the benefit of rolling the entire setup around to position exactly how you like or keep completely out of the way when not in use.