As you all know, I am very much a fan of analog video degradation and glitch art. I’ve made videos before on using shaders and other filters in OBS Studio to create similar effects – but I’ve found two new LUA Script-based filters for OBS that add some really sweet details to all your crunchy, degradation recipes.
These are created by Ompuco and currently locked behind their $7/month Patreon wall, which is a fair price to pay to get some awesome filters.
NTSCFX
This filter is still a work in progress, but it’s really neat. You’d be forgiven for slapping it on and not realizing it was doing anything, however. It works best when combined with another filter built into OBS.
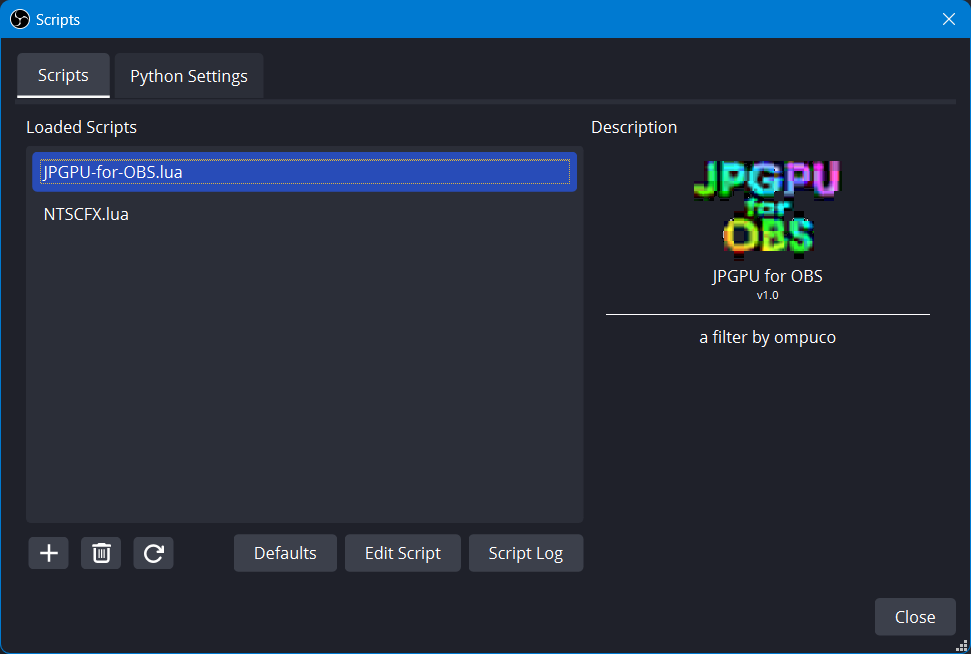
Download the NTSCFX.lua script. Open OBS and go to Tools -> Scripts. Click the + and add a new script, choose the one you just downloaded.
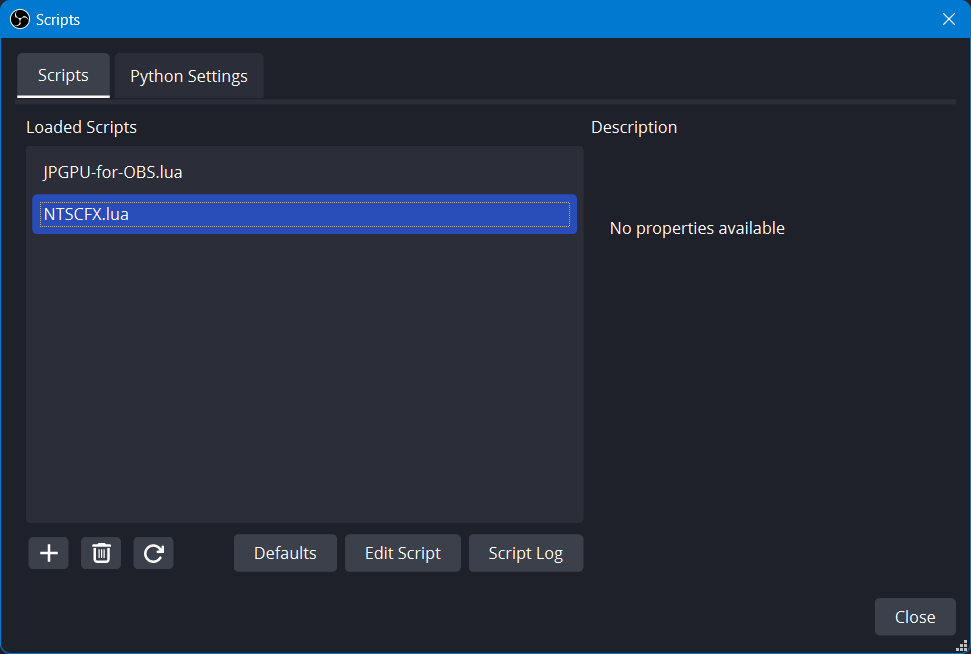
Close this window. Next find your source and right-click it and select Filters. Add the NTSCFX filter. It currently has no controls or options.
Depending on your source, it might not even be noticeable. While it initially created some color ringing on text for my Display Capture sources, it initially appeared non-functional on my webcam and media source.
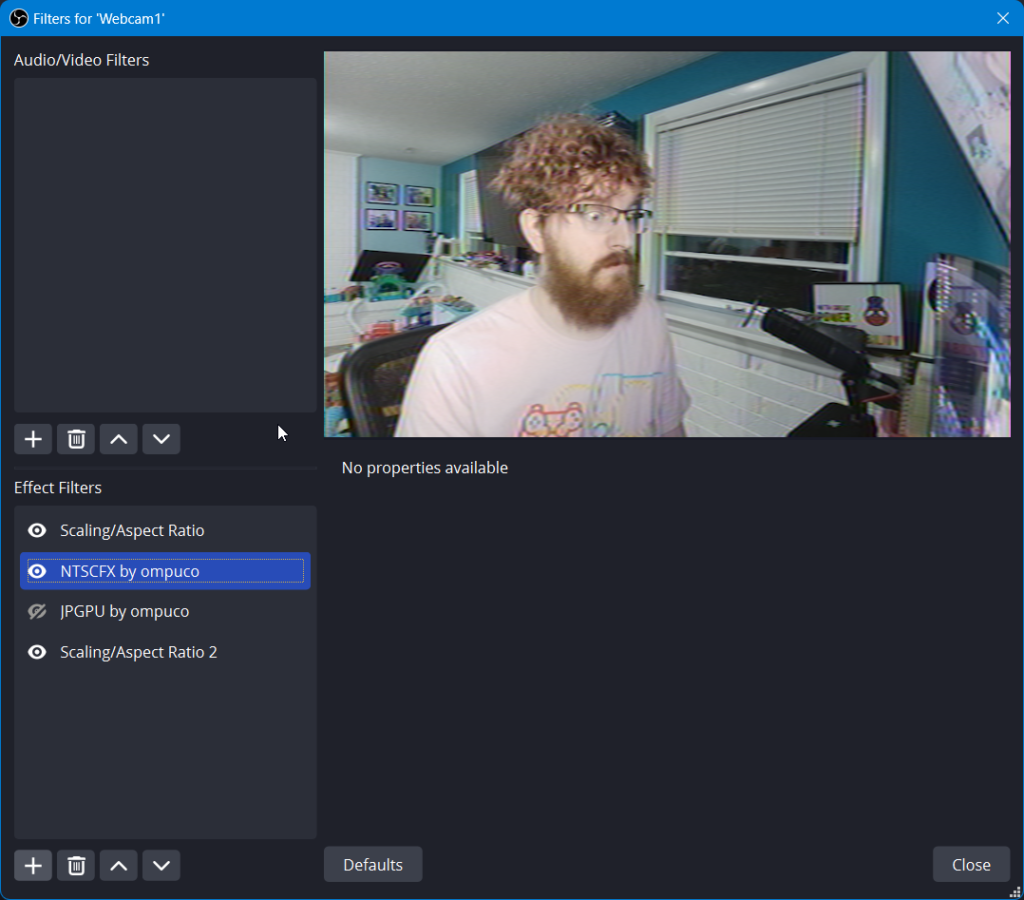
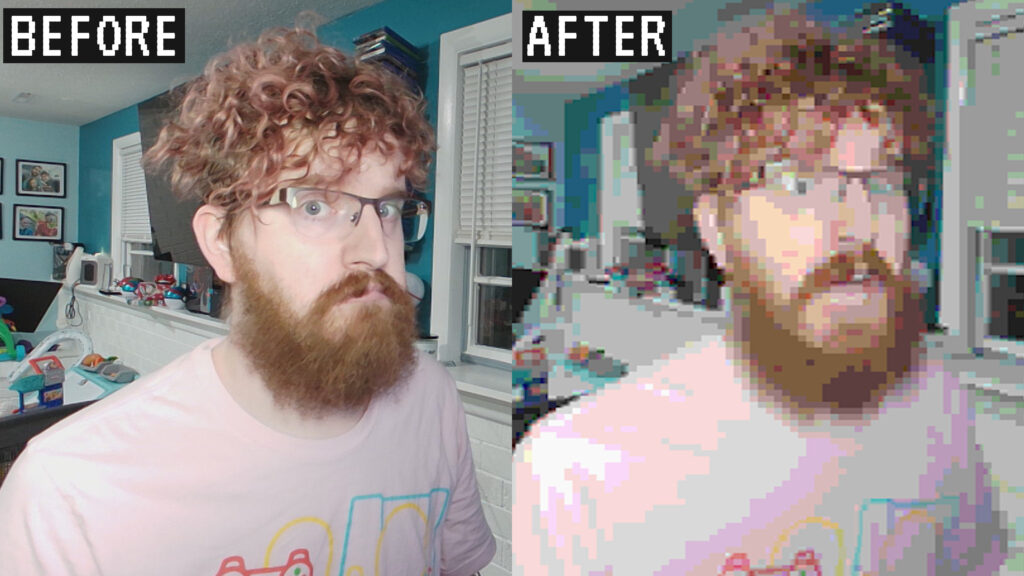
Perhaps the subtle effect is all you want, but to really benefit from this filter’s magic, you want to downscale your source using the Scaling/Aspect Ratio filter in your filter stack before applying NTSCFX, then scale back up to your original resolution with another Scaling/Aspect Ratio filter after.
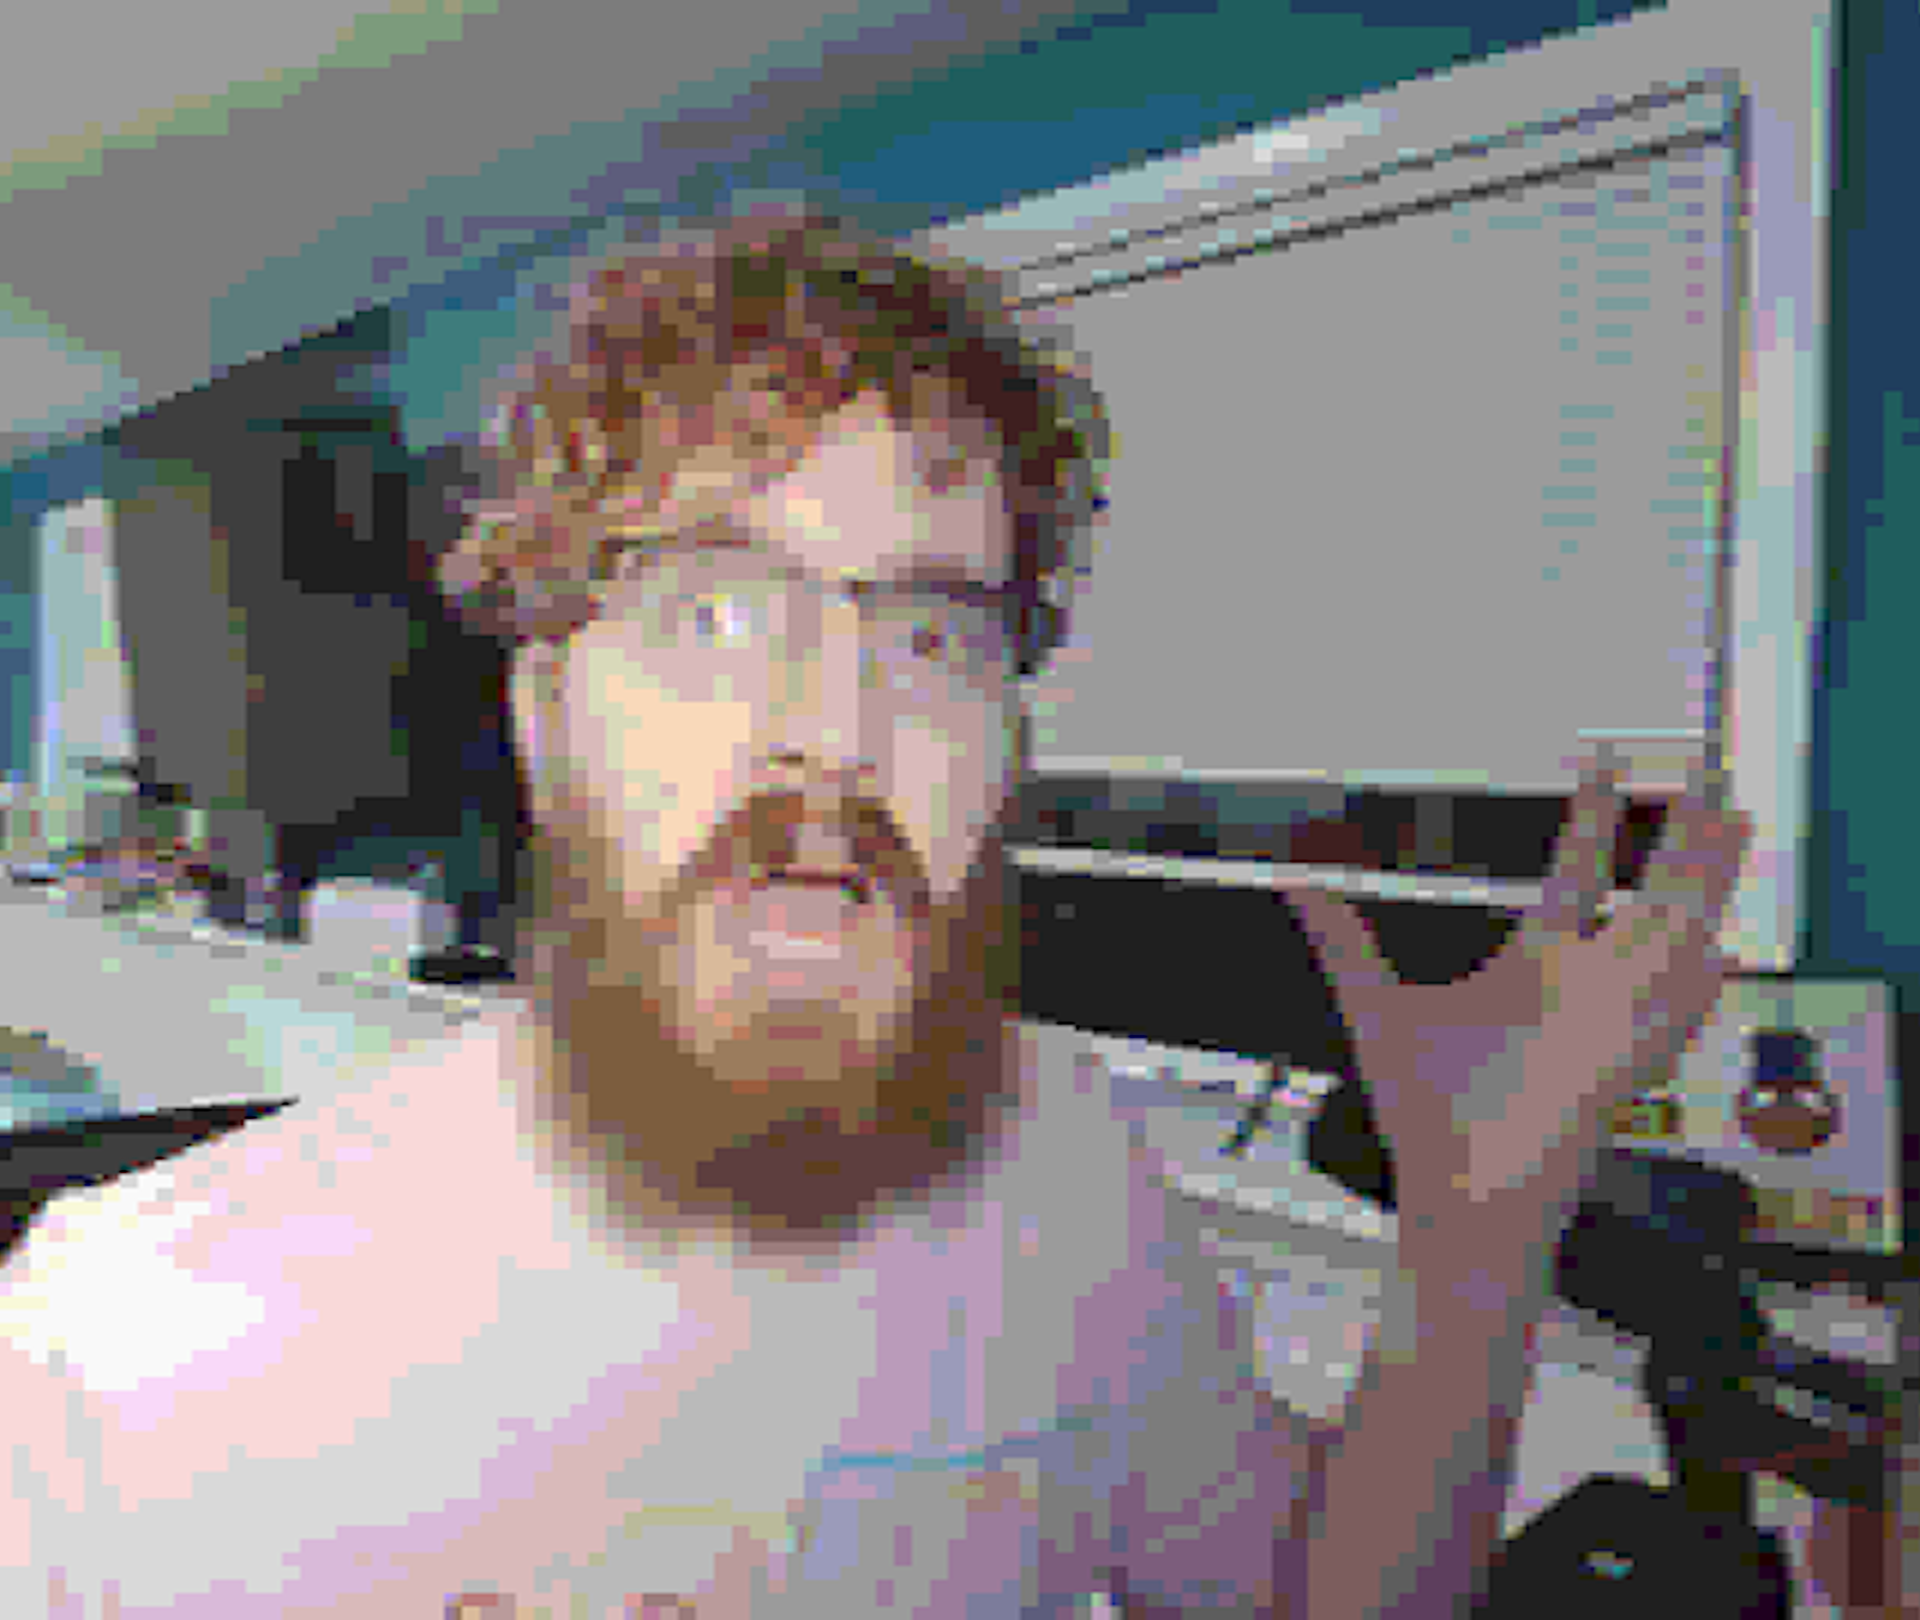
For this example, I scaled my webcam to 640×480 and then back up to 3840×2160. I used the Area scaling filter, and I had to resize my source to fit back in my canvas after. But the results are surprisingly authentic degradation in the vein of a VHS tape or analog NTSC television signal. You’ve got some jaggies from the scale, a little bit of chroma/color blur and shift, and ringing around defined edges.
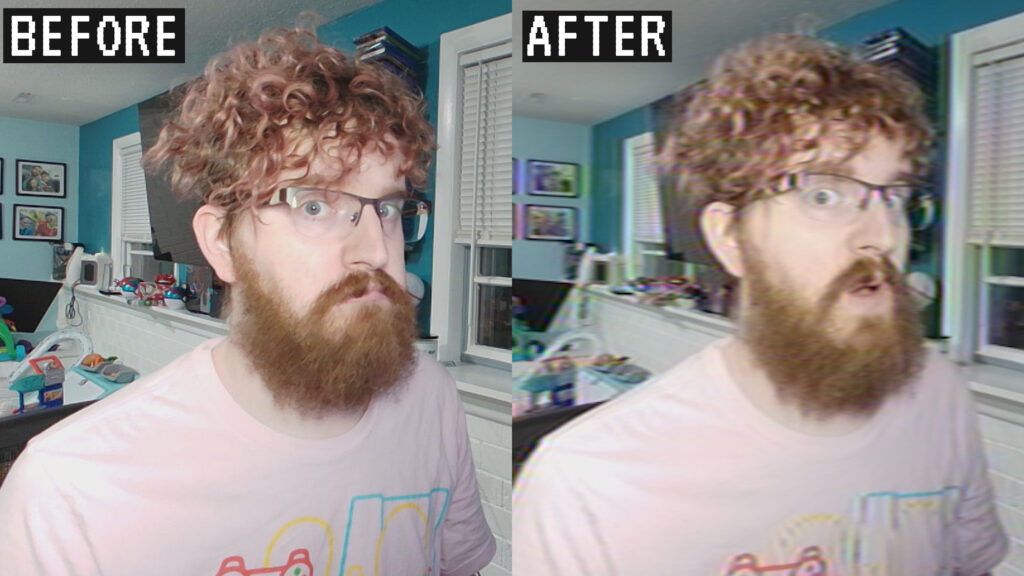
It’s more subtle than most cheesy “VHS filters” – but that’s what makes it feel more authentic. Kudos to Ompuco for “getting it.” I appreciate authenticity and not going over the top when it’s not appropriate.
JPGPU
The next filter is a JPEG compression simulator, with controls. This creates some weird artifacts and is best suited to 2D graphics or graphics with transparency, to simulate web JPEG compression, but definitely offers some unique degradation.
Again, go to Tools -> Scripts, click the + and add the JPGPU-for-OBS.lua script.
Next add a filter to your source or scene. Add the JPGPU filter. Again, this will benefit from downscaling beforehand!

In this filter, you have a few options.
Render Downscale is similar to the manual downscaling we did with the previous filter, where it skips resolution of your source. You can experiment with whether you want to do this in the filter here or with the previous Scaling/Aspect Ratio method.
Truncation is basically the “bitcrusher” of the JPEG compression here. Slide down, get more blocks, banding and color shifts. Slide up, look more normal.
Block Size affects the size of the macro blocks displayed across your image. These are just done in a grid across your whole frame, rather than based on movement (like with video compression) so I just left it on the smallest setting so they were less obvious.
Alpha Mode allows you to more closely match the alpha transparency of your source, or mess with it a bit for more compression wackiness.
Overall, I’m super stoked to add these to my arsenal and my brain is bubbling with neat ideas to put these to work in interactive stream layouts.
Combine them for even more cursed results:
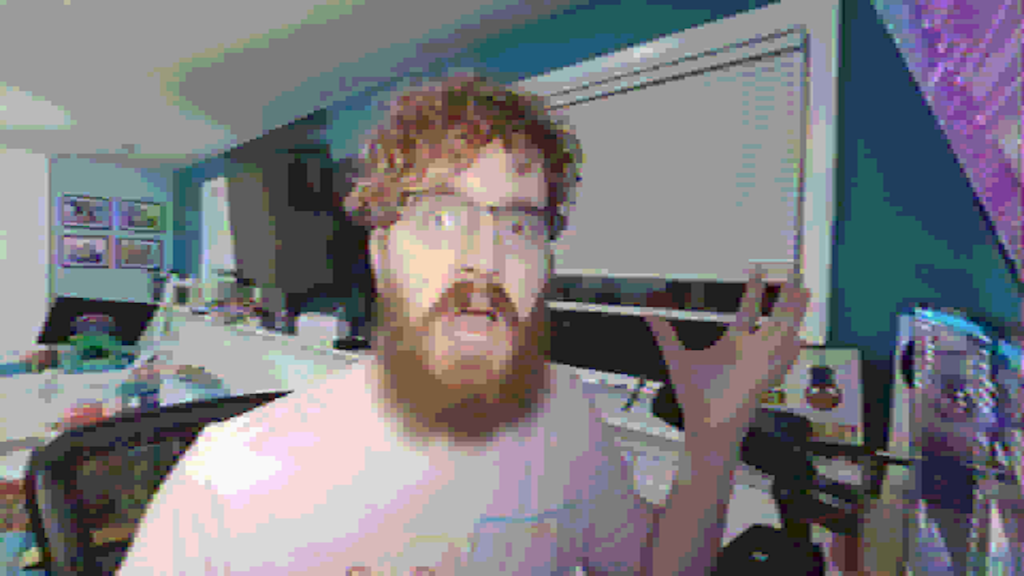
Webcam: AVerMedia PW513, lit by Elgato Key Light Air (with overhead lights on)
Grab these for yourself on Ompuco’s Patreon.