This video contains everything you need to know to take your stream audio from beginner newbie sound to pro status. We’ll be covering the physics involved, mic usage and technique, as well as some finishing touches with post-processing.
This post is sponsored by Elgato’s Wave:1 and Wave:3 microphones. Check them out for yourself here (paid link).
Physics
There’s a lot you can do with post-processing or clever tricks to add a little polish to your microphone sound, but none of that matters if you’re not setting it up right and ignore the laws of physics.
Physics dictate how everything in our dimension of the universe operates, and there are things you just can’t get around.
First, let’s talk about your mic placement. There is a direct relationship between the closer a microphone is to your subject and the quality of sound you get – within reason – and the ease of reducing background sounds.

If you have a dynamic microphone, these are designed specifically to be used as close to the speaker’s mouth as possible.
Condenser microphones, on the other hand, such as the Elgato Wave, provide much more flexibility to use at a distance. In fully sound-treated and sound-isolated recording booths and music studios, condenser microphones are often kept at a couple feet’s distance from the singer or speaker. If you’re in such a scenario, like a vocal booth – go for it. But the way sound works in a desk streaming setup are VERY different.
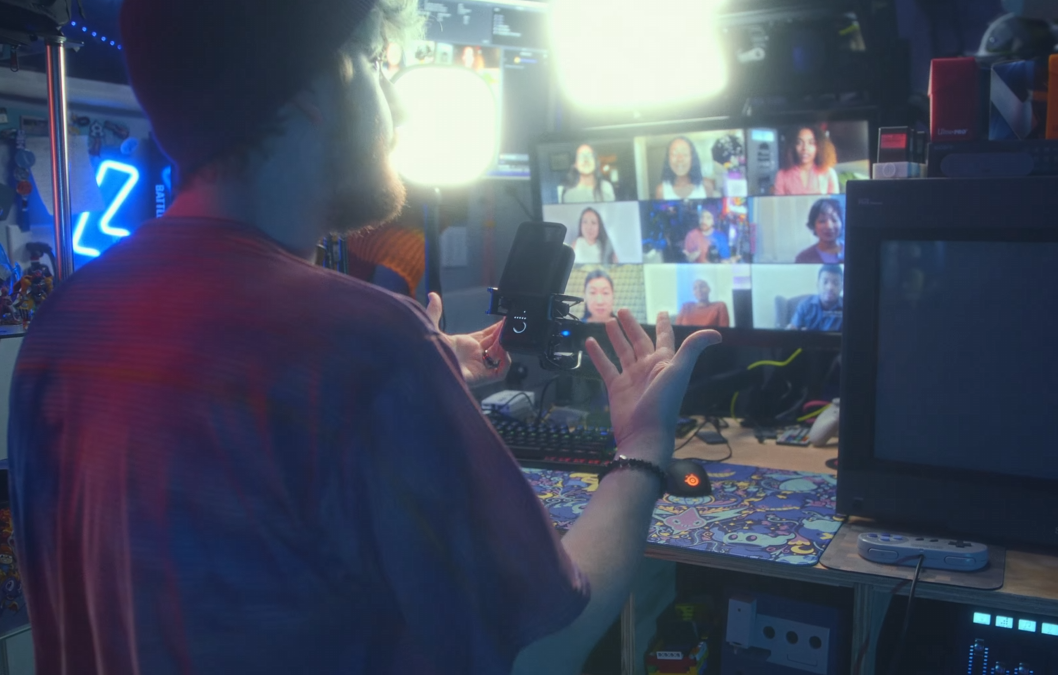
If you’re streaming at a desk, you still want your mic up close to your mouth, probably with a pop filter. You also want to make sure your keyboard and mouse are positioned on the other side of the mic: You want the mic between you and your keyboard and mouse (or other noise-generating objects) rather than the opposite. Basic directions will tell you anything making sound in the pickup area of a mic will be picked up, and it’s a lot harder to filter that out.
If you absolutely have to have your microphone less visible – be it for teaching or business scenarios – a big “streamer microphone” is honestly not the right call. A lavalier mic clipped to your shirt or a shotgun mic mounted just out of frame is the way to go. I have videos testing these on my channel.
The second way physics affects your streaming setup is, well, the rest of your setup other than your microphone. Two big things are involved here: Noise from other sources, and reflections.
Added noise is mostly obvious. If you keep your PC on your desk right next to your microphone, avoiding fan noise can be impossible – especially when your PC is working super hard to game and stream. Keeping PCs on the floor – using something to keep it off of carpet and able to breathe, using cases with dust filters, etc. – makes a world of difference for your ambient sound.
And the obvious – shutting your door, telling family when you need quiet time, shutting windows when you can, etc.
Reflections are the tricky one. Reflections apply to sound as much as they do to light. When you project sound out of your mouth, it shoots out and bounces off of all the surfaces in your space (just slower than light would). Your desk, your computer monitors, your walls, your floor and ceiling.
Your walls (and indirectly your desk and PC monitors) and your ceiling are considered “first reflection points” – they are the big ones most likely to produce reverb or “room sound” when you talk or shout. Covering your desk with a nice soft desk mat helps a lot with your desk, and pointing your camera angle so you’re not talking directly at your PC monitor can help with some of those initial reflections back into your microphone.

But then comes sound treatment. Elgato makes their Wave Panels which may look like cheap Amazon foam, but actually provide a 3-step professional solution. A little bit on your most empty wall portions can help reduce the “wetness” of your room sound a lot. Alternatively there is cheap Amazon sound foam, which won’t perform quite as well, or moving blankets do a great job at deadening a room. If you have non-carpeted floors, getting a rug below you or around you can help, too.
This should all be a motivator to design your backdrop set and stream space a little more. Ultimately, an empty room with empty walls will always sound worse than a room that just has a bunch of stuff in it. The more things to break up and absorb sound, the better.
Technique
Your mic is positioned properly and environment is tamed, but how do you use it? I mentioned before that dynamic mics pretty much require being up close to the speaker’s mouth, and condenser mics will work best that way for desktop streaming setups. Choosing the right mic and positioning it correctly are big steps.
Beyond that, you have to actually “train” your voice. New creators often start out shy and quiet, and that doesn’t really work for entertaining an audience. Projecting your voice is important.
You don’t need to yell. You’ll also see many streamers over-compensating and just talking at a shouting or yelling volume and that’s not healthy or sustainable, plus you’re causing a lot more reflections off of your walls and desk.

Some of this you pick up just through experience and time – but taking opportunities to gain more real-world experience, such as public speaking classes, really help. I mumble a lot in day to day speech, but my college public speaking class really helped me make sure I’m heard by an audience and that directly translated to on-microphone speaking skills.
This isn’t just a matter of your peak loudness, either. Consistency matters a lot. Starting your sentences super loud but trailing off as you finish your sentence is not an enjoyable listening experience, and much harder to balance for. Shouting during an exciting moment in a stream is okay, but having half of your sound shouting and half really quiet is not fun.
You also have to balance the projecting you’re doing with your mic gain and levels either on your physical controls or in software. You may find that over time you actually have to reduce your mic gain because you’re projecting better than you’re used to

Beyond loudness, there’s also lots of little tricks you can practice to improve your mic technique. Learning to soften your plosives makes for more natural speaking pattern. Drinking plenty of water and making sure to reduce your mouth smacks and clicks also lowers the abrasiveness of your audio. Also: Don’t drink soda right before you go to stream or record. It makes your saliva thick which makes it hard to speak – I struggle with this a lot.
All of these skills just take practice and conscious reminders whenever you watch your streams back to keep working on them. Vocal coaches can help, too! They’d also tell you that doing vocal warm-ups to get your vocal chords ready go a long way to protecting your voice from going out after long streams. If you find yourself regularly losing your voice or feeling strained after streams, you should be putting in a lot of work to help keep your voice healthy before you burn out.
Polish
Getting everything right before your audio hits your computer will always beat out doing anything after the fact, but sometimes you still have to tweak something, or you want a little more.
If you’re streaming with OBS Studio, as of recent updates it ships with two noise filters that can help you. RNNoise runs on the CPU and will be tough to run alongside CPU-demanding games or applications, but does a great job at removing background noise from your audio.
If you have a Nvidia RTX Graphics Card, which I know is tough these days, you can use RTX Voice either as part of the Nvidia Broadcast app or via the OBS Filter if you install the VoiceFX SDK. This allows you to use special cores on your graphics card to automatically filter out any frequencies that aren’t your voice, based on AI training.
What if you just want to make your voice sound… better? Or keep it from clipping?
Wave Link – the software backing the Elgato Wave microphones and Wave XLR interface – allows you to activate an awesome feature called “Clipguard.” This is effectively full protection from ever peaking or clipping your microphone and distorting in your viewers’ ears.
Clipguard works by running a secondary “safety track” at -20dB lower than your main audio feed, and automatically switching to it if you get too loud – such as when you cheer after winning a game or something. That way, your viewers can still hear your enthusiasm and energy, but not breaking headphones or sounding all distort-y and gross.

If you want to “enhance” your voice or get rid of some gnarly frequencies going on, that’s where VSTs come in. VSTs are audio plugins that can run in real-time and modify your audio. OBS Studio comes with some basic tools built-in, but I usually recommend mixing them with the ReaPlugs VST set – a completely free set of VSTs released by the makers of the Reaper audio editing software. If you see info about a free trial, that applies to Reaper itself, not the ReaPlugs, so you may have downloaded the wrong thing.
Add your microphone device to OBS, right click it in your mixer and select Filters.
Add a new filter. Here you can add EQ to tweak frequencies, a compressor to balance out your levels a bit, and so on.
My BIG warning here is to keep it simple. It’s easy to fall into the trap of over-doing your post-processing – something I did for years – and making really wacky sounding audio. In reality, you just want to tweak what you have and make it sound a little bit better. Our example here, the Elgato Wave, is a wonderful and natural sounding mic out of box, so we only want to tweak it a little bit.

My generally-recommended audio chain is Noise Gate first – be it with RNNoise, RTX Voice, or a more traditional gate, then EQ, then compressor, then De-Esser if needed. Some people prefer to have their noise removal at the end, but I find it easier to get smoother results if you’re not amplifying the background noise with the other post-processing earlier in the chain.
EQ-ing is more of an art than a science. I could make a whole series on this (comment if you’d like that) but here’s some general rules to follow:
- Usually you want to start cutting everything below 60hz to avoid too much bass. You might think you want this left in, but many listeners will complain about “boomyness” and you might start to activate the subwoofers on listeners’ setups, which isn’t a good thing. Higher voices may not need this, but mid and lower-end voices do.
- 100-150hz is where some of the “warmer” frequencies live. A small boost to this can help give your voice that warm, “radio” sound on some mics. On others, you may need to go ahead and cut this to avoid muddiness.
- Muddiness in the voice is a huge problem around 200-250hz. Too much of these frequencies and your voice can be almost impossible to decipher. I usually cut a little bit here, depending on the mic.
- The 800 to 1000hz range is considered the “mids”. A lot of your more nasally frequencies live here, a cut at 1000hz can significantly improve the sound of your audio, depending on the mic and speaker.
- Frequencies around 3000hz can add some clarity to your audio via a small boost. Too much and you start to get crisp and too sharp for some listeners’ ears.
Remember, less is more. And a HUGE rule for most EQ-ing work is to cut before you add. We’re not here to boost you to sounding like a robot (unless you want that), we just want to cut out some less flattering frequencies a bit. Sometimes a little mid cut, a little high boost, and a low-cut is all you need. Play with it and test a lot – with plenty of breaks to prevent ear fatigue.
Compressors are a little easier. What is a compressor? The name is pretty self-explanatory, but it takes your audio and squishes it down, or compresses it. The loudest parts become less loud to give you a more consistent-sounding feed. This comes at the cost of dynamic range, but helps a lot with broadcast audio where you don’t want to be getting super quiet and super loud unexpectedly.
For the Ratio, 3:1 or 4:1 is generally the ideal ratio for voiceover, as a general rule.
The threshold should generally be at a point where you’re getting around 5dB of gain reduction. For me, -16dB works but you may need to play with it. Then you add 4-5dB of gain back either in the compressor settings or with a secondary gain filter.